
Getting started with GIMP
Oct 14, 2020
n the Coaching for Geeks Community, we had a challenge to put a cut-out of Robin’s head on a vehicle. (And, don’t call me psychic, but I predict this kind of challenge will happen again…). I know a lot of people out there are less familiar with GIMP and other image editors than I am, so I figured I’d lend a hand.
GIMP stands for GNU Image Manipulation Project and is an open source software package (that means it’s free) available to anyone. It’s kind of heavy on a slow connection, but if you do image editing on a semi-regular basis, it’s worth having.
GIMP Tutorial: Let’s Do It!
The first thing to do, open the picture of the Daemon Engine. Or whatever else you want to put Robin’s head onto. (Don’t be mean.)

Next, click and drag the file with Robin’s head, from the file explorer window, onto the GIMP window with the Daemon Engine. It will come up as a new pasted layer.
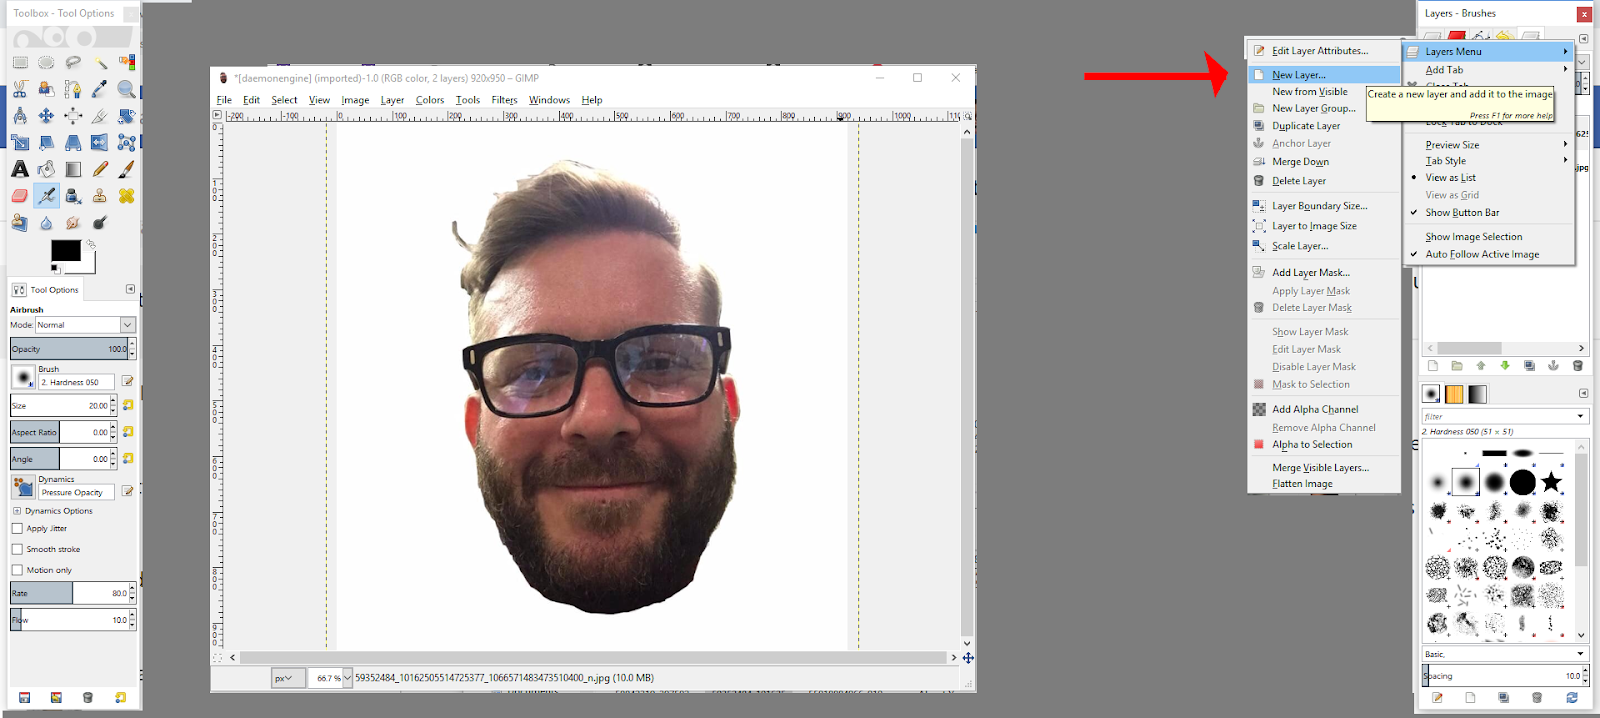
Create a New Layer from the Layer menu, as shown.
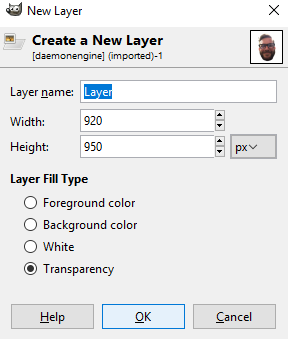
Make sure you select Transparency if it’s not already selected. Don’t touch the size.
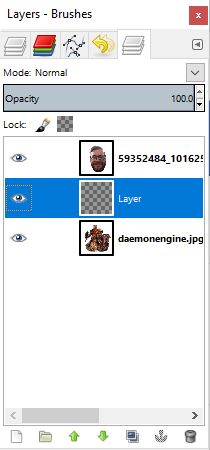
Place the layer directly underneath the Robin Head layer. Just click and drag. Easy peasy.
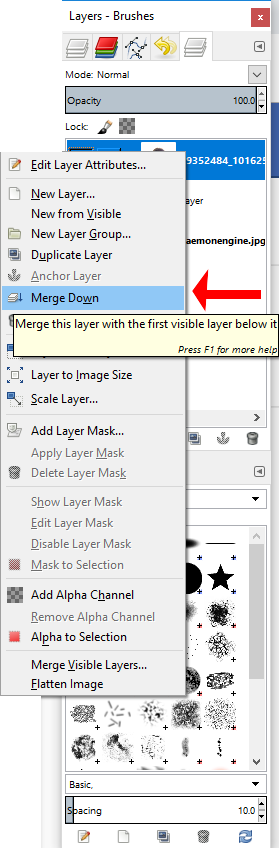
Next, right click the Robin Head layer and select Merge Down.
Once it’s been merged onto the Layer, click on the Fuzzy Select Tool in the Toolbox.
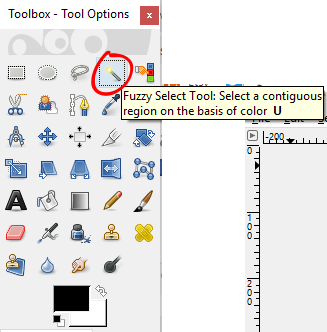
The Fuzzy Select Tool allows you to select entire areas of the same colour. Select the white around Robin’s head.
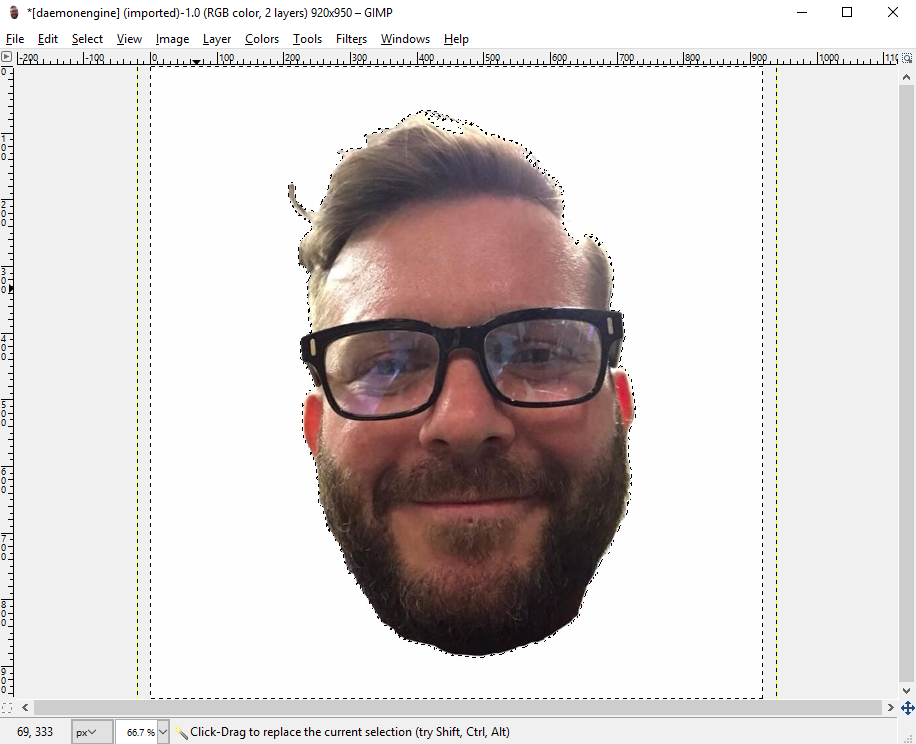
Then Cut! You can do this from the edit menu or press Ctrl + X (Cmd + X on a Mac).
You can of course liven any image up with additional graphics such as a Music Notes SVG pack. That’s not quite the look we’re going for here so let us continue!
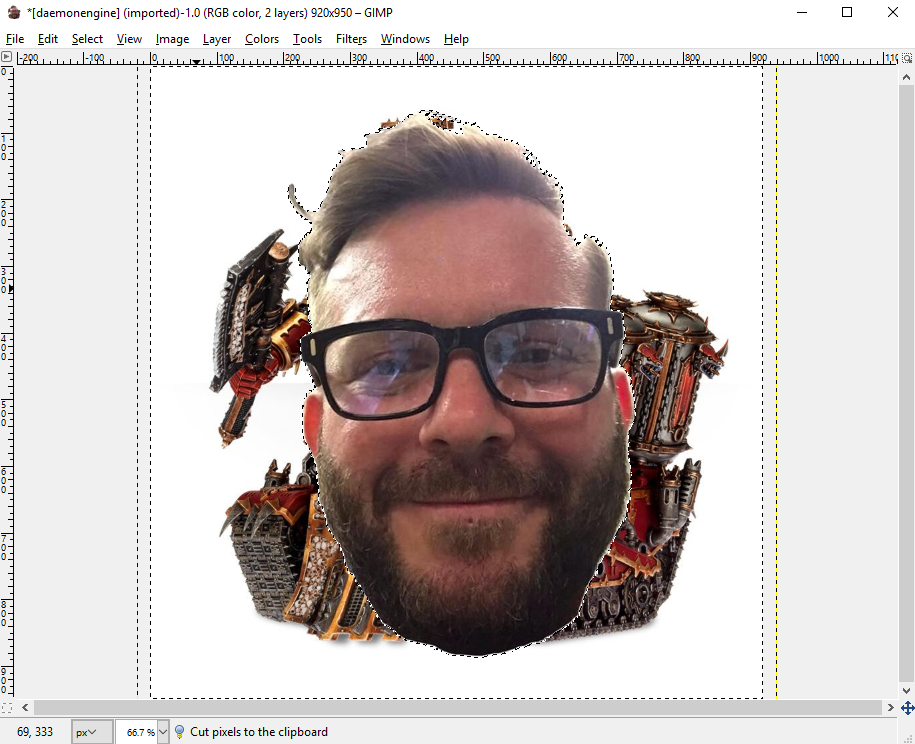
Deselect everything by going to the Select menu and clicking None. This will avoid any awkwardness going forward.
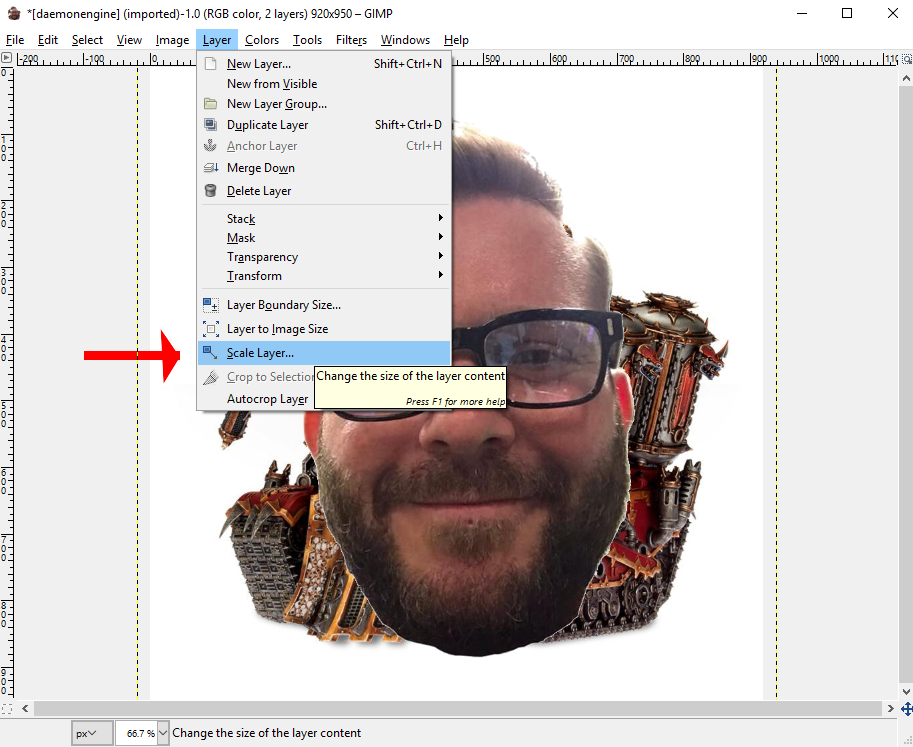
Next, go to the Layers menu in the main window and select Scale Layer.
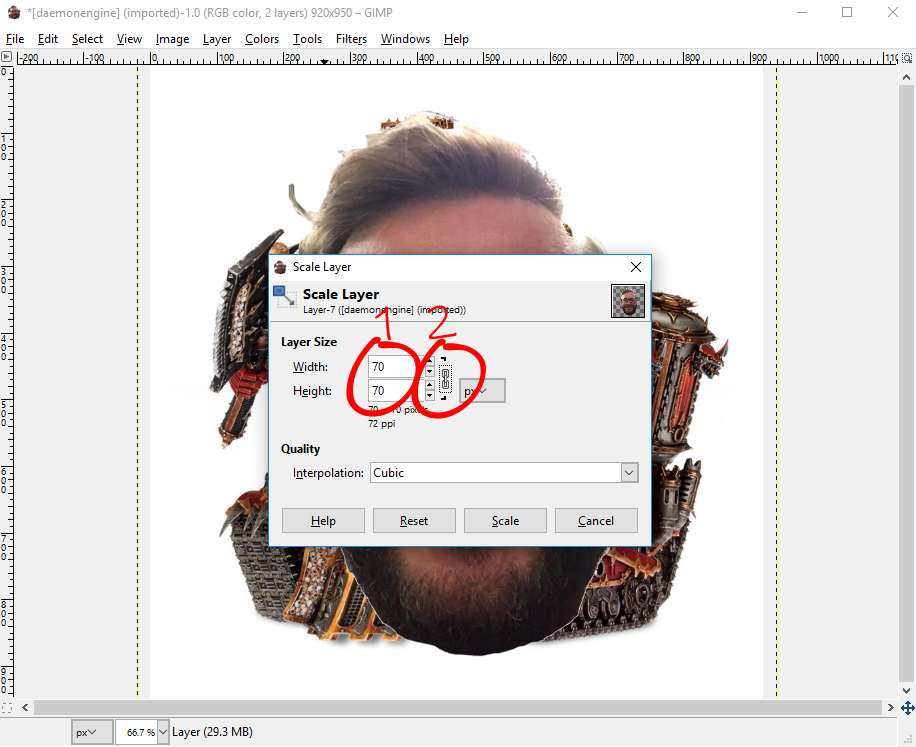
This is a judgement call. Estimate how many pixels you need your head to be. Start bigger (this was 960×960 to begin with, and 70×70 ended up too small so I had to undo) and work your way down. I ended up around 100×100 on this one but it will depend very much on the two images in question.
Next, select the Move Tool in the Toolbox. I have circled Robin as well as the tool, so that you can see where it is now.
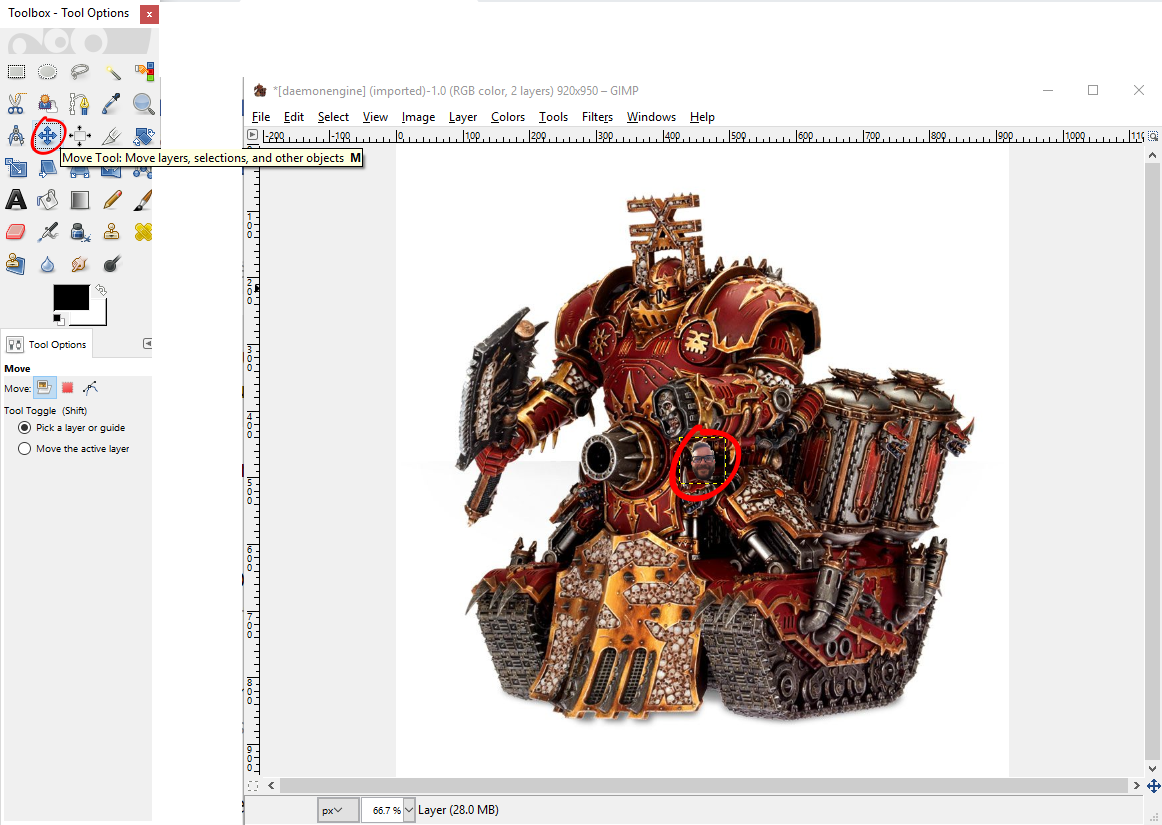
Click and drag Robin to where you want him, in this case on top of the Daemon Engine’s head.

Hey Presto! You’re done. The easiest way to save it in GIMP is to Export it from the File menu. Select jpg or png and just click OK on the box that comes up if you don’t know what any of it means. 🙂
Just imagine his cheeky little face with a Music SVG on top. He could be playing a flute!
GIMP Notes
The screenshots in this article are from a previous incarnation of GIMP, but you do it the same way in the new one. The Layers box has moved to the bottom right, and some of the tools have new symbols, but I’m sure you’ll find your way around it!
Have fun, and don’t make anything incriminating… I’ll be watching you…
Victoria Sol is the Mod Prime of the Coaching for Geeks Facebook Group – which you should totally join – and when not reading all your posts and comments spends their time making chainmaille and other jewellery and accessories at Destai.
Grab a free guide on how to grow your stream or podcast from scratch. Or perhaps a guide on creating your social media content?
